Showing posts with label Furniture Flip. Show all posts

Tuesday, September 25, 2018

{ Trash to Treasure }: Kitchen Sideboard - 2018 Update!

Last week on my SSS FaceBook page I shared one of my favorite furniture flip projects I've done [see it here]. and I mentioned that I've since changed the look of my kitchen, so here it is!


Be warned, that my kitchen is on the small side. I wanted a "sideboard" to add more surface space and additional, much needed, storage. I got rid of my teal dresser because it was too big and I needed a more compact version. I didn't have to look much further than my own living room... this piece went under major renovation and has been used for many different purposes [SEE IT HERE] 

So far, this piece has exceeded my expectations and doesn't take over the entire wall, yay!


Scored the 3-Tier dish at a garage sale for $5. SWEET!


I like to keep a lot of foods that are usually found on the counter in glass food containers. Food packaging tends to be very busy especially when you have a mix of products and brands. When poured into glass containers, it leaves the counters looking really organized but yet serving it's purpose. That's my idea of a win/win.
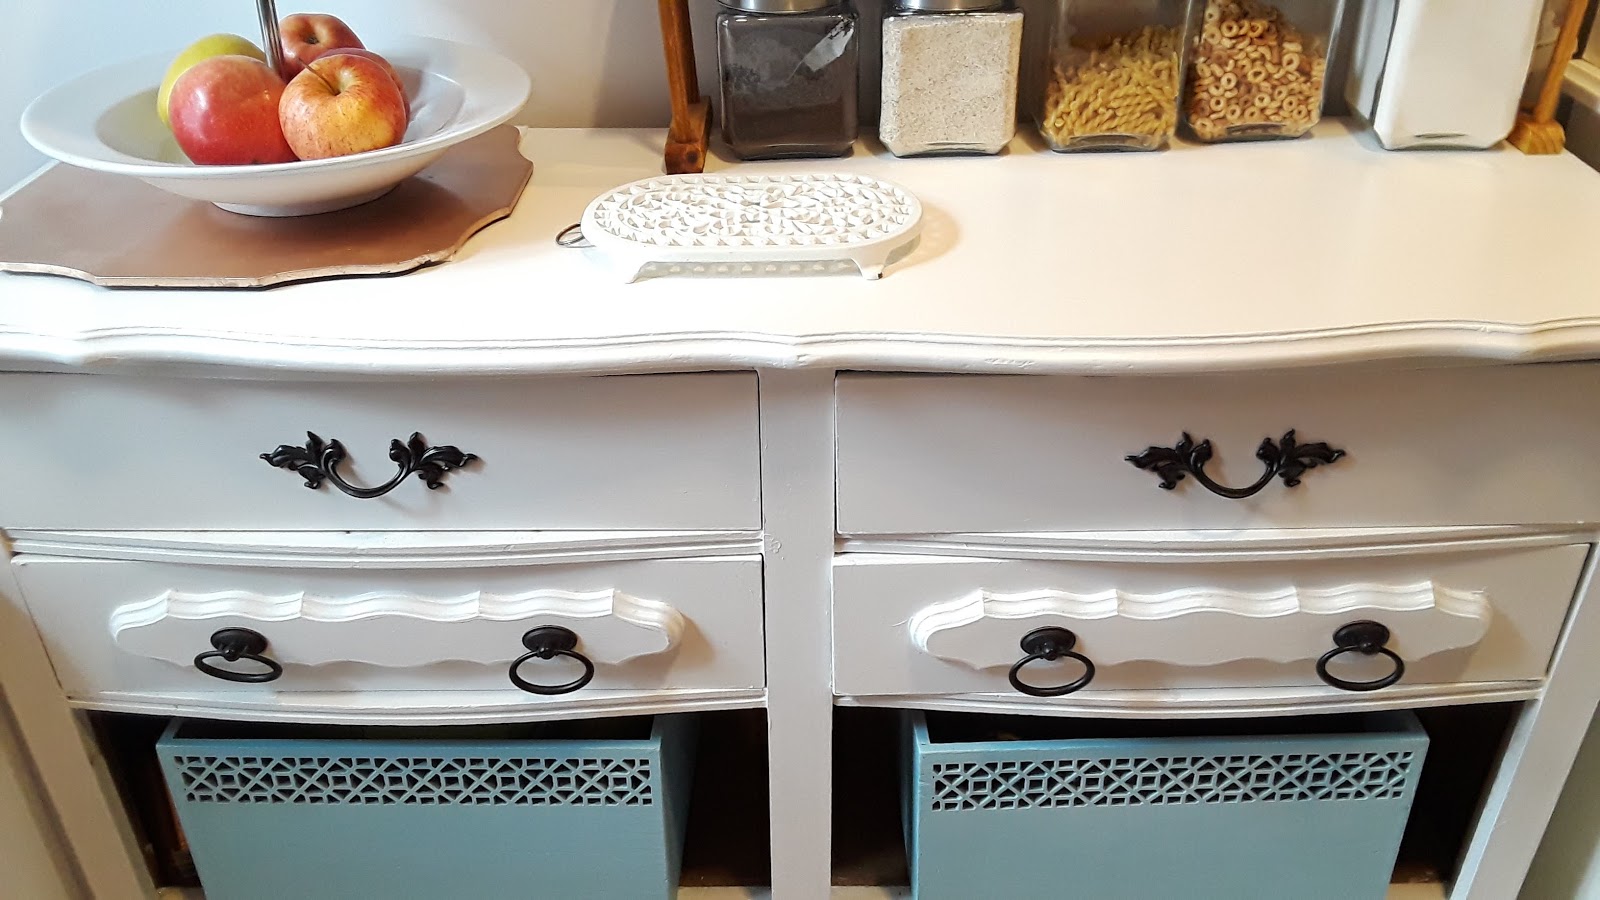


I spray painted the original hardware with Rust-Oleum: Oil Rubbed Bronze, which I LOVE. It has a matte finish but also leaves a little shimmer behind and it gives it a really beautiful almost authentic finish.

The bottom drawer pulls were from Amazon. 


Nice, right?? L.O.V.E.


A glance at the recent before:

eeeeeek!!!

I used 2 coats of Benjamin Moore Dove White. My go-to shade for white furniture.


The blue crates also got a paint job. I didn't take a before because it was a spontenous decision. I mixed a bit of teal paint I had with the Dove White, it was a very close shade to the original color, just now it's in much nicer condition.


Let's have a peak inside, shall we?


The top-left drawer is reserved for food containers! Storage containers tend to take over cabinets and drawers, we're definitely guilty of it. Having a small drawer however forces us to keep our stash to a limit. Now that the kids are in school, we have their lunch containers in here. (I'll share more about these containers on IG, follow me @SarahSweetandSimple!)


Underneath the food storage containers (bottom-left): kitchen towels, aprons, tea towels etc. 


The top-right drawer holds all of the other essentials: storage baggies and rolls of aluminum and parchment paper. I also leave a couple of Sharpies so I can immediately label baggies when necessary (which is almost always).


 Bottom-right drawer is other miscellaneous but often used kitchen supplies: Lids to our mason jars and straws, as well as lids to our Bullet machine and the kids ice cream bowls. The set-up was created so the kids could independently "help themselves", it's been a game changer.


 And what's on the blue crates, you ask?


My tools. 


Truth is, I access my tools at LEAST once a day. I'm always making or fixing something. I need easy access to them at all times. Having them in the open space of the dresser was ideal, I just didn't like LOOKING at my tools - so I used these blue crates which are pretty and practical. Score.


There you have it! My current kitchen sideboard!


I do have a beautiful white IKEA hutch beside this sideboard... it will be going under a much needed makeover. My poor girl has seen better days! I promise to share a before and after. 

Meanwhile, please share this post and leave me a comment with your thoughts and questions!

T H A N K  YOU!

Cheers,
Sarah


Thursday, December 1, 2016

{ Trash to Treasure } Accent Chairs Before & After!


I have a confession: I love to make old things new. I really really do. I've been doing this so for as long as I can remember. Like when I was 10, I would make Barbie clothes out of old clothes and orphan socks (strapless dresses #allday). As I got older, I was into hardcore up-cycling: shoe boxes into glam memory boxes (still do it to this day!) and upgrading my wardrobe with bleach, paint or scissors. But today, nothing gets me going like flipping furniture, oh yeah!


Take my latest furniture flip as the perfect example.


I found these chairs and turned their dark, dreadful exterior into something I could live with - literately and figuratively. The BEST art however, is that this project only cost me a total of $13!!

The chairs = FREE, I found them up the block, around the corner. True story.
The Fabric = $4.00 A Target Threshold curtain from the Goodwill ($24 original price)
The Paint = $9 Behr Paint, from Home Depot's "Oops Paint" selection; paint left behind by a customer)
Total = $13


I have this motto I found on Pinterest (really wish I knew the author, so I could give them a long hug)
"Do what you can, with what you have". I apply this mantra daily, maybe multiple times a day.

With that said, I use my apartment's "foyer" to do my DIY projects. {Clearly, a separate garage is at the very top of my dream home must-haves} Fortunately, my neighbors have accepted this side of me. When working on this project after breakfast, one of my neighbors came out and gave me some plastic gloves, she said "don't ruin your manicure". #heartwarming


My littlest and bestest helper, my daughter. She's always volunteering to help. 9 out of 10 times I say no #sorrynotsorry, its just that 9 out of 10 times I'm working with products and equipment not safe for kids, except today! I allowed her to help me paint because the project was fool-proof! I made my own chalk-paint. And one of the best things about chalk paint (besides the fact it dries super fast) Its that it doesn't leave streaks!! She couldn't mess up the paint job, if she tried! So while she gave the chairs their first coat of paint, I got to work on the upholstering part of the chairs.

Here's what I used to upholster the chair. But all you REALLY need is The Staple gun.


This was an inexpensive staple gun from The Home Depot. If you've never upholstered before, I don't recommend getting a more sophisticated tool, keep it simple until you've mastered the skill.

The first thing I did, was remove the (disgusting, dusty) vinyl that the seats had. I used a letter opener,  to pry off the old staples, so fancy.


What is not shown: when I cut the fabric to size. 

All you need to do: trace the old piece of fabric on your new fabric, cut it and staple it.
Important step: Start with the corners.
Give it a clean and neat appearance by folding a pleat as you staple.  


I also considered the pattern on the fabric, I did my best to keep the pattern symmetrical. This especially necessary when working with stripes.

Once the chairs were completed, I screwed them back to the chair frame. It was a really simple project. I can't wait to do it again!


Aren't they grand? It definitely gave our living room a little special something. 

Thanks for stopping by & Happy Thriftin'

Sincerely,
Sarah


Sunday, August 23, 2015

{Trash to Treasure} Dresser Gets a Makeover!

I love when this happens. When you have a vision of something so specific, you just can't get your mind off it, and then *poof* it miraculously appears... just the way you hoped it would!

Yep. I hoped. And I received.


I know what you're thinking...

"What were you thinking!?" OR "Lucky you!!!"

Here's the truth: I'm a sucker for "diamonds in the rough" and anything that resembles "vintage". This was definitely rough and vintage-inspired, and perfect for my soon to be changing table!! 

Now you have to ask me how I hauled this piece home... long story short, an older gentleman (old enough to be my grandpa) saw me struggle with my cute IKEA dolly and this very large piece of furniture and offered to deliver it to me if I could wait for his daughter to get home from work. I jumped for joy and hugged him!! #goodpeoplestillexist!

When my darling arrived home (the piece not the old man) I was elated but also terrified. I know my Mister is not a fan of my "garbage picking" ways, I like to think I treasure hunt... tomatos\tomatoes. I sneaked it into my 'work room' aka the boys bedroom and through a blanket over it. I'm so good at this hide and go seek business. Not.


It didn't take long before the kids made use of it, hence the books.  


My littest helper, sanding so meticulously. 


Phase 1: The piece didn't need much sanding. I gave it a good cleaning with water, vinegar and lemons, let it dry and followed it with a coat of primer. Before painting it a bright satin white. I highly recommend using primer for any and every project. Primer allows your paint to adhere to any finish AND helps to save on paint, especially when going from dark to light. 


Phase 2: While the piece dried, I fixed the broken drawer and sealed the others with wood glue, to ensure it's well supported for future use.

(extension ropes helped keep the pieces in tact while drying)


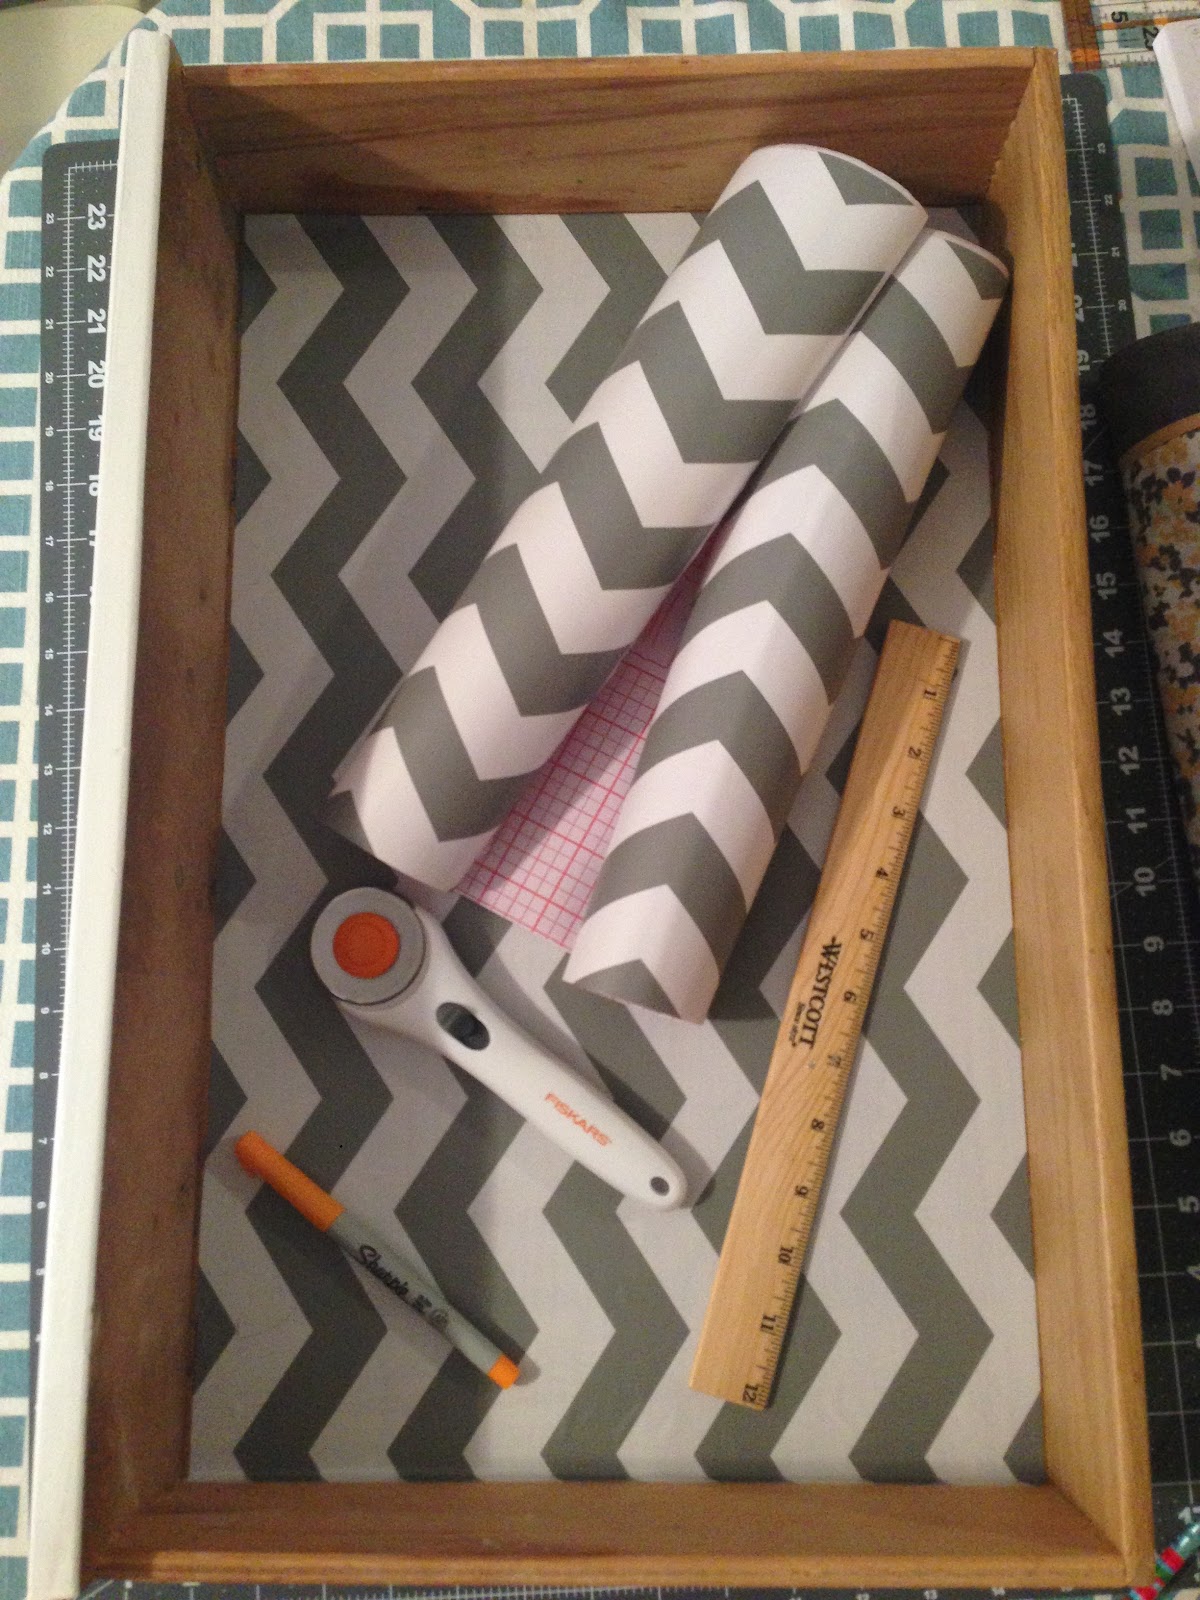
 Phase 3: I then lined the inside of the drawers with self-adhesive drawer liner. 
I found this chevron pattern at Marshalls for $3.99!


Sure, no one sees the inside of the drawers. But here's why I recommend lining drawers:
1. It's a used piece - the liner serves as a clean platform for storing things, especially baby things.
2. Some liners come scented, keeping your things fresh when stored, if they don't sprit with some water/lavendar oil mixture!
3. Its a pretty surprise every time you open the drawer :)


Phase 4: I planned the  "gallery wall" that would be above the changing table. I wanted to achieve two things with this idea: 1. a simple, yet sophisticated design 2. serve a purpose; the wire rack (from Target) was the perfect diapers n' things organizer!


The frames, as you can see had pictures already in them so I swapped them out and cut scrapbook paper to size to serve as a simple backdrop.

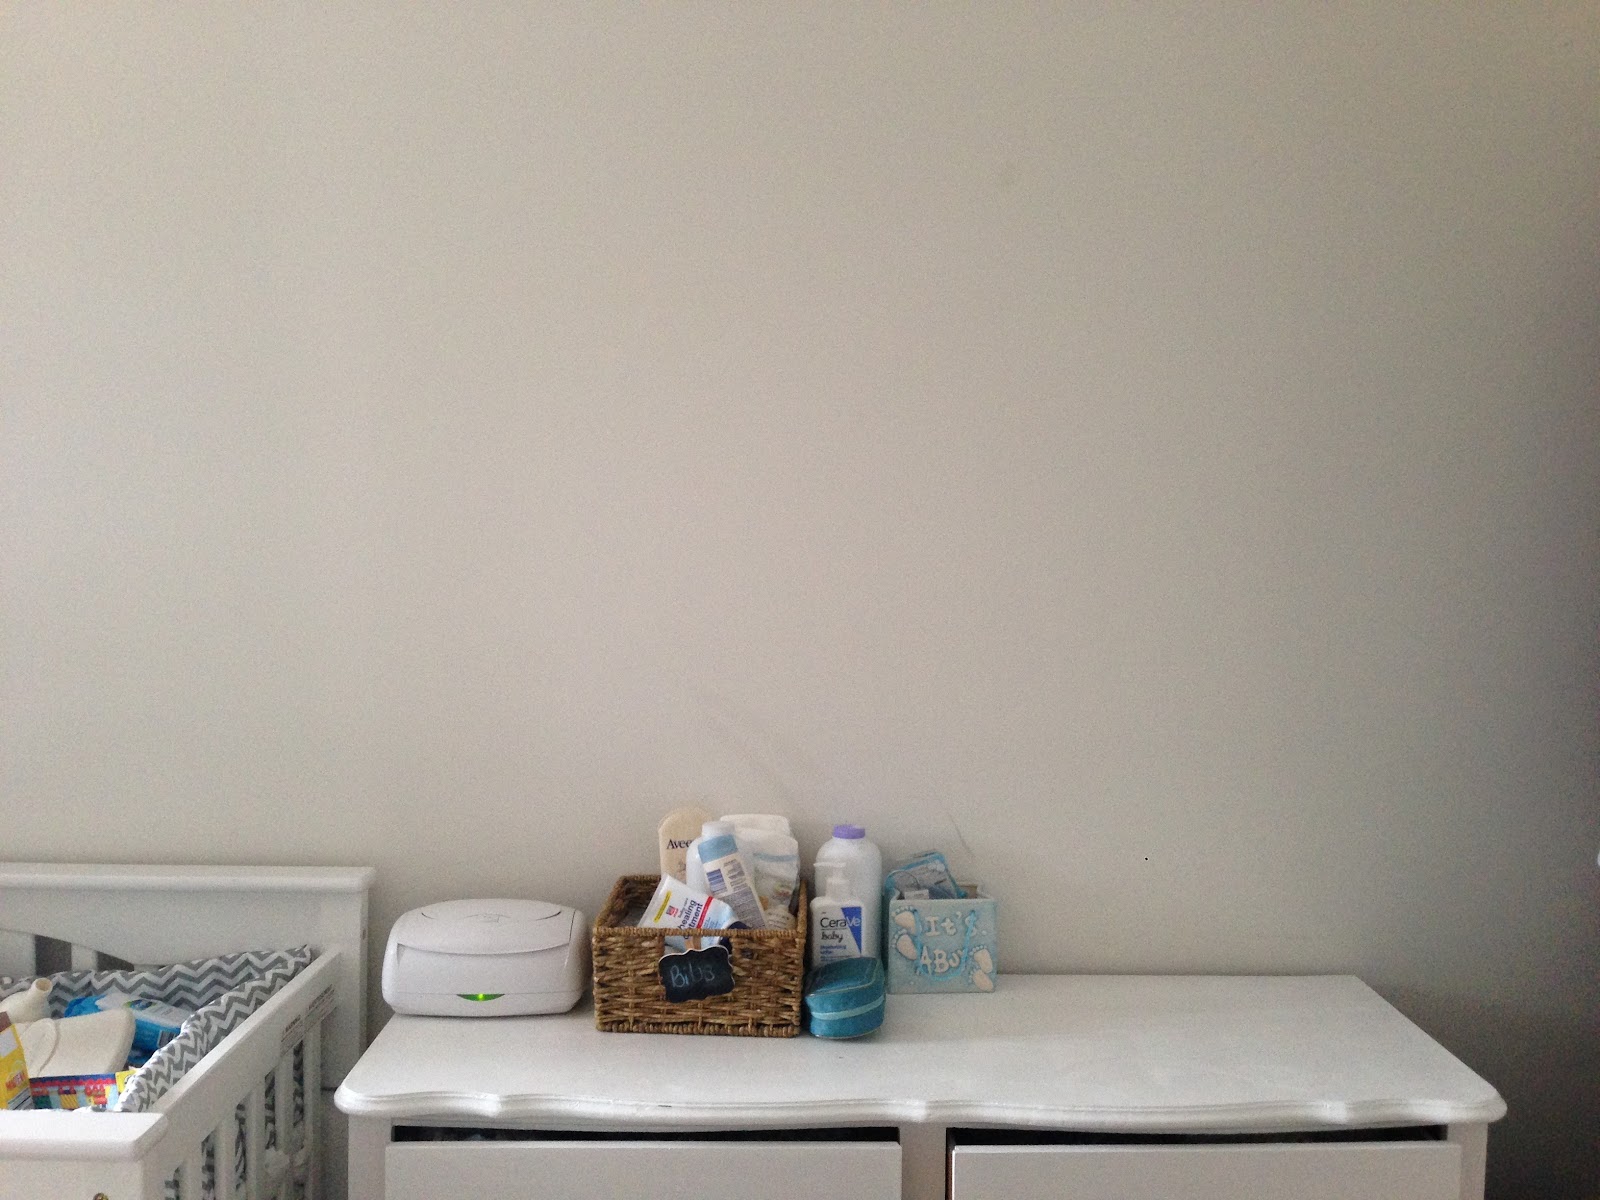
Before

After


I just loved how everything came together. I happened to have the baskets from our first born's nursery, perfect for blankets and extra diapers. Read more about this baby space HERE. The knobs, also from Target, gave the vintage vibe an upgrade. Moreover, I knew I could live with this look in our room, a perfect balance of sweet and simple. Pun intended. :) 

El Fin.


Thank you so much for stopping by!

Sincerely,
Sarah