Wednesday, December 2, 2015

Small Space Solution: At-Home Beauty Bar!


Here's an awesome alternative to the glam gal's vanity we see all over Pinterest! I totally dig the idea of a dedicated vanity or desk to be used to beautify ourselves, but realistically, it's not an option for me. Although our master bedroom is pretty awesome in size, it is currently being occupied by our little roommate Jack. Our son has what we call "the wall" for his crib, dresser and hamper. The ideal wall space for a really fancy shmancy vanity. WaaH!

So what's a girl to do?? Think UP. All I really need is a place to organize my beauty products so they are easily accessible when I need to put my face on for church or a date with the Mister (heart eyes emoji here). I had moved around furnishings so I re-purposed two of the three shelves from my 'corner office' as my new "beauty bar"! Check it out!! 


The shelves are from IKEA. I painted the shelves white and sprayed painted the brackets gold. Easy peazy. All of the organizers and gold vases were from Target! I paid $1 for the acrylic make up organizers and $3 for the gold vases. Including that striped vase that I love so much.

I bought a bag of floral sand at the dollar tree to keep my makeup brushes straight #Boom.


This is an awesome option if you're working with a limited amount of space. Even if its one shelve in the bathroom or smaller shelves in a girl's dorm room. 

I found that this set-up was especially helpful to keep my make-up out of reach from my three year old! She loves to watch me put on make up and loves to get her little fingers in my shadows and color the walls with my lipstick... but that's all I'll share about that.


Notice any differences between this image and the first one?? If you do, comment below!!
And if you try something similar, share it with me on IG! @SarahSweetAndSimple

Have a pretty day!

Sincerely,
Sarah

Sunday, August 23, 2015

{Trash to Treasure} Dresser Gets a Makeover!

I love when this happens. When you have a vision of something so specific, you just can't get your mind off it, and then *poof* it miraculously appears... just the way you hoped it would!

Yep. I hoped. And I received.


I know what you're thinking...

"What were you thinking!?" OR "Lucky you!!!"

Here's the truth: I'm a sucker for "diamonds in the rough" and anything that resembles "vintage". This was definitely rough and vintage-inspired, and perfect for my soon to be changing table!! 

Now you have to ask me how I hauled this piece home... long story short, an older gentleman (old enough to be my grandpa) saw me struggle with my cute IKEA dolly and this very large piece of furniture and offered to deliver it to me if I could wait for his daughter to get home from work. I jumped for joy and hugged him!! #goodpeoplestillexist!

When my darling arrived home (the piece not the old man) I was elated but also terrified. I know my Mister is not a fan of my "garbage picking" ways, I like to think I treasure hunt... tomatos\tomatoes. I sneaked it into my 'work room' aka the boys bedroom and through a blanket over it. I'm so good at this hide and go seek business. Not.


It didn't take long before the kids made use of it, hence the books.  


My littest helper, sanding so meticulously. 


Phase 1: The piece didn't need much sanding. I gave it a good cleaning with water, vinegar and lemons, let it dry and followed it with a coat of primer. Before painting it a bright satin white. I highly recommend using primer for any and every project. Primer allows your paint to adhere to any finish AND helps to save on paint, especially when going from dark to light. 


Phase 2: While the piece dried, I fixed the broken drawer and sealed the others with wood glue, to ensure it's well supported for future use.

(extension ropes helped keep the pieces in tact while drying)


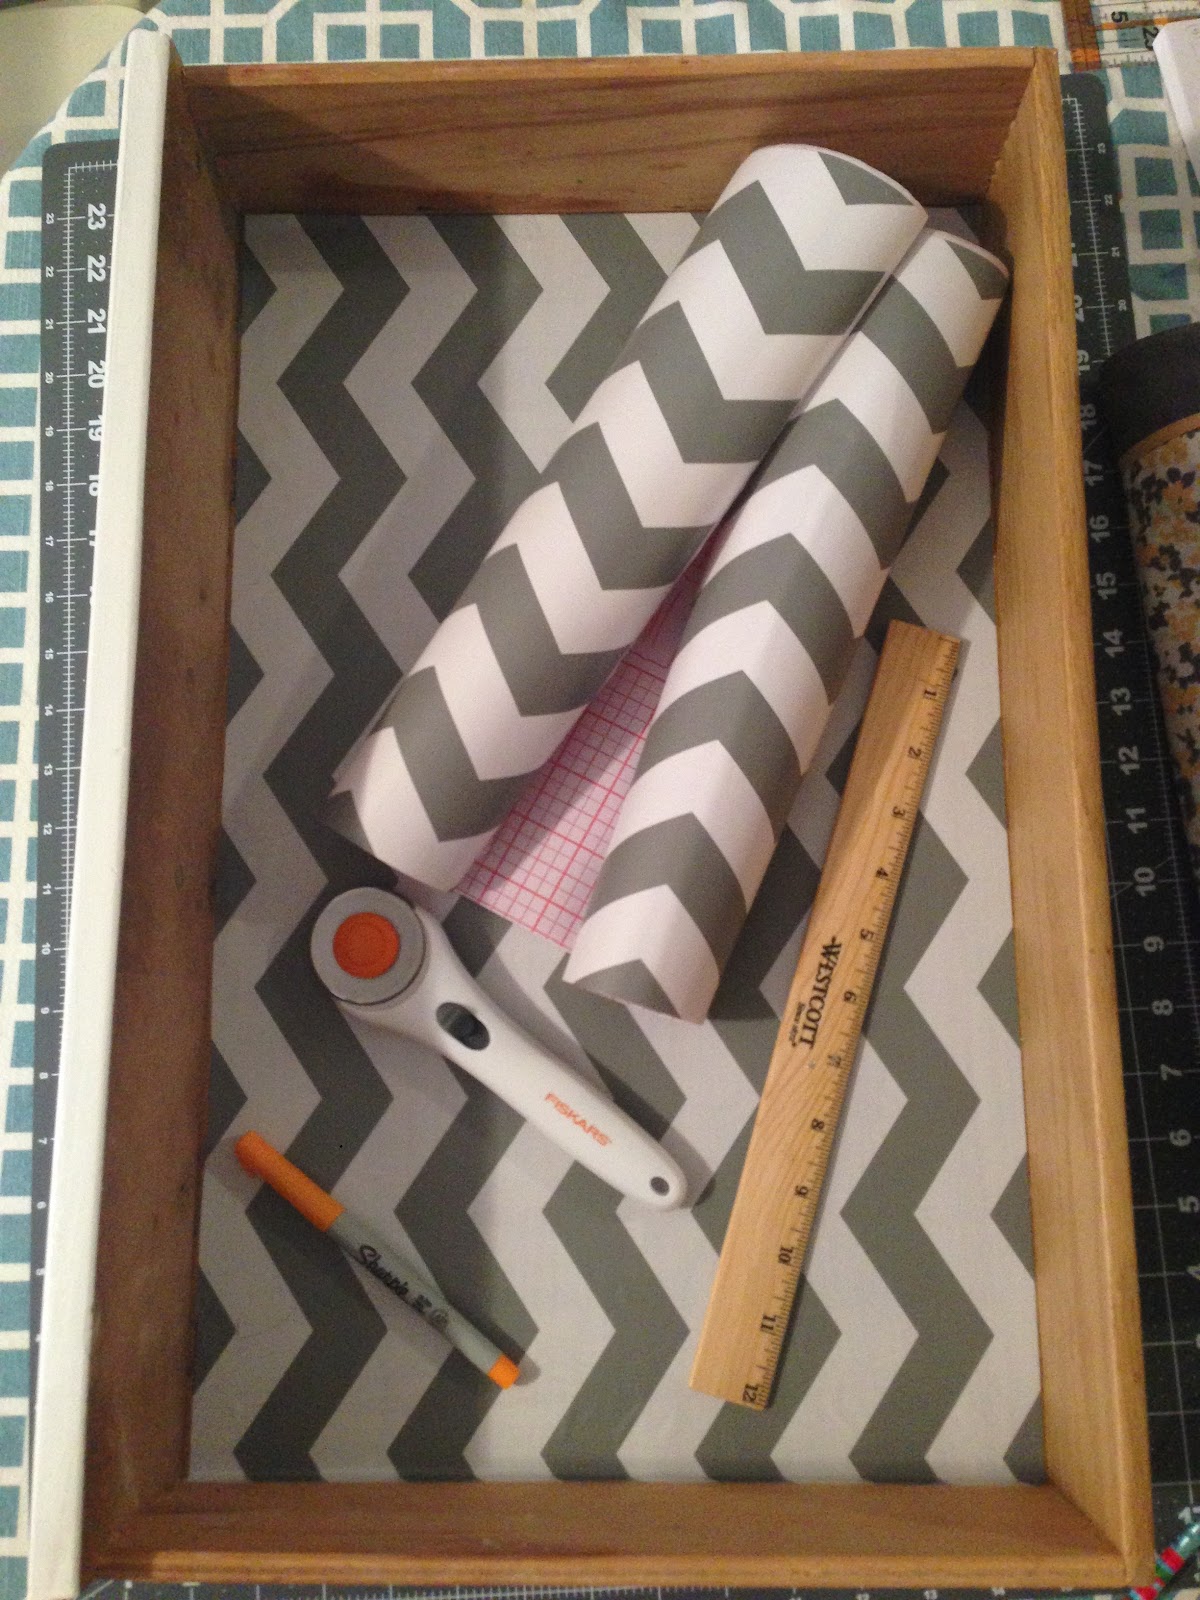
 Phase 3: I then lined the inside of the drawers with self-adhesive drawer liner. 
I found this chevron pattern at Marshalls for $3.99!


Sure, no one sees the inside of the drawers. But here's why I recommend lining drawers:
1. It's a used piece - the liner serves as a clean platform for storing things, especially baby things.
2. Some liners come scented, keeping your things fresh when stored, if they don't sprit with some water/lavendar oil mixture!
3. Its a pretty surprise every time you open the drawer :)


Phase 4: I planned the  "gallery wall" that would be above the changing table. I wanted to achieve two things with this idea: 1. a simple, yet sophisticated design 2. serve a purpose; the wire rack (from Target) was the perfect diapers n' things organizer!


The frames, as you can see had pictures already in them so I swapped them out and cut scrapbook paper to size to serve as a simple backdrop.

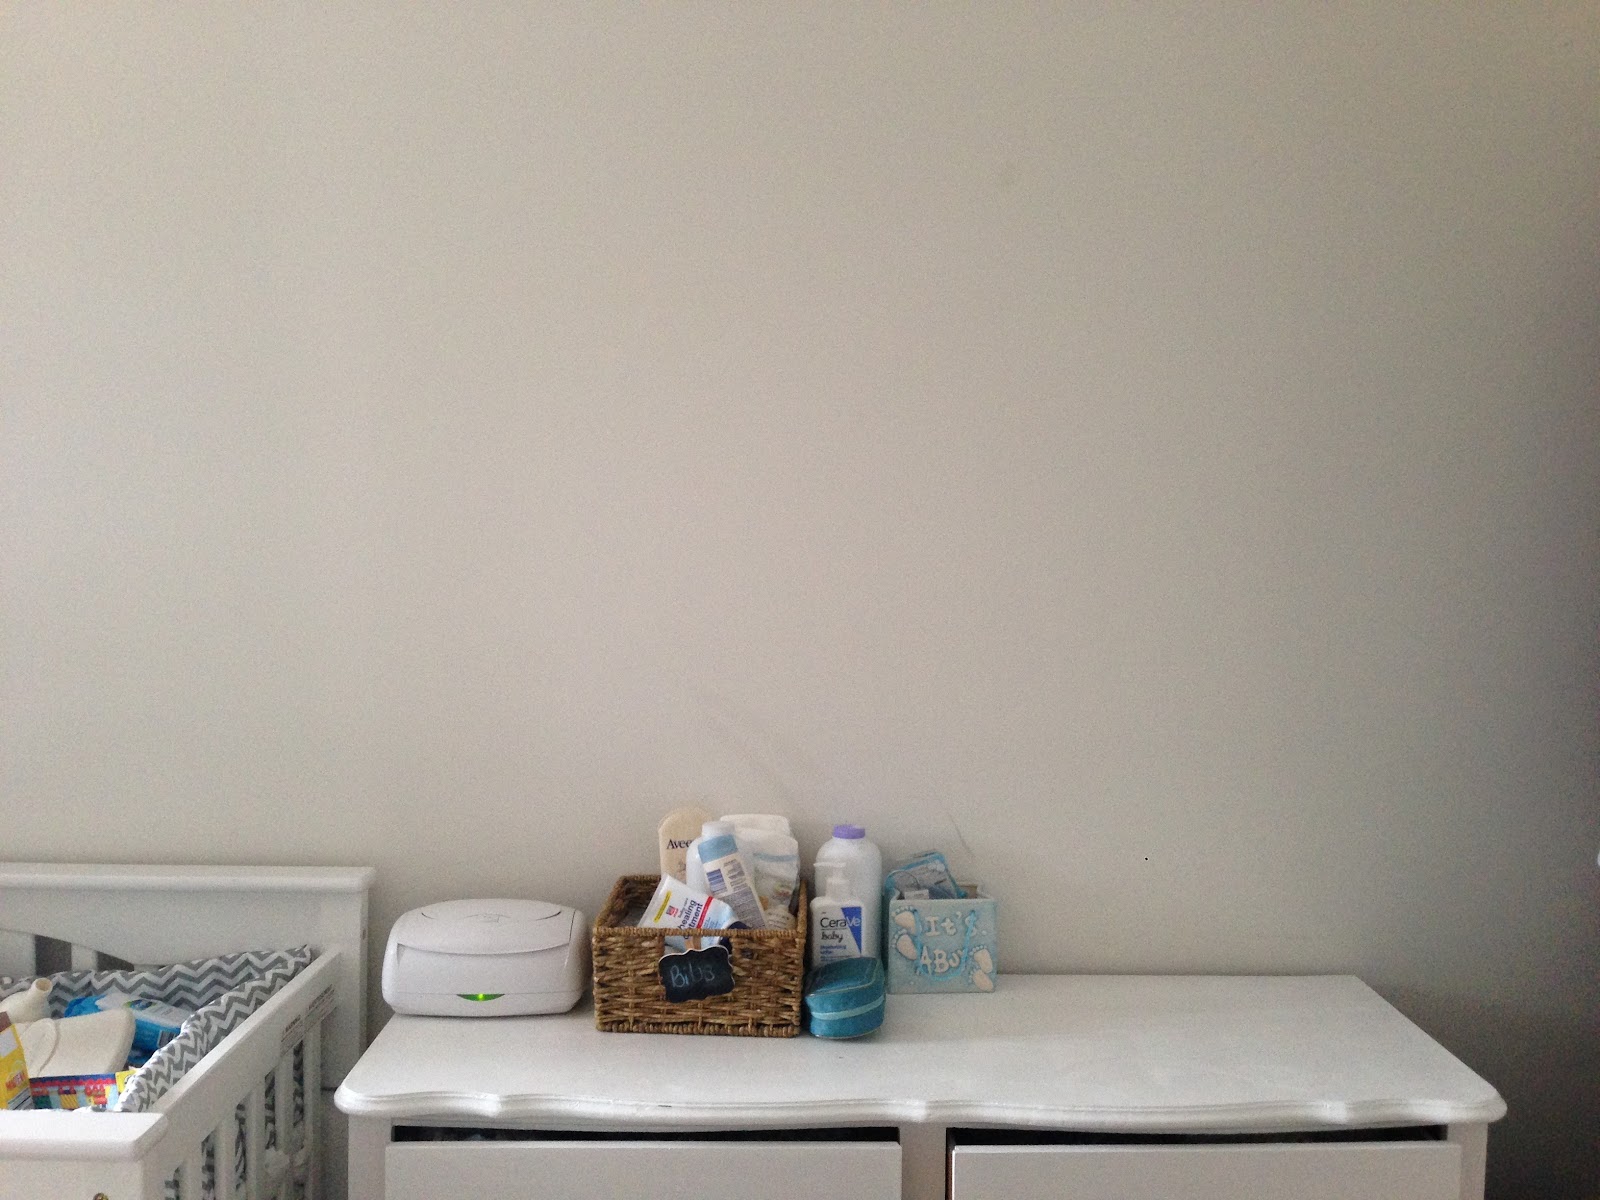
Before

After


I just loved how everything came together. I happened to have the baskets from our first born's nursery, perfect for blankets and extra diapers. Read more about this baby space HERE. The knobs, also from Target, gave the vintage vibe an upgrade. Moreover, I knew I could live with this look in our room, a perfect balance of sweet and simple. Pun intended. :) 

El Fin.


Thank you so much for stopping by!

Sincerely,
Sarah